Guide · Premiere Pro
LUTs for Premiere Pro
Apply any Lutpack look to AI footage in Premiere Pro with Lumetri Color — once, or as a permanent preset in the Creative Look menu.
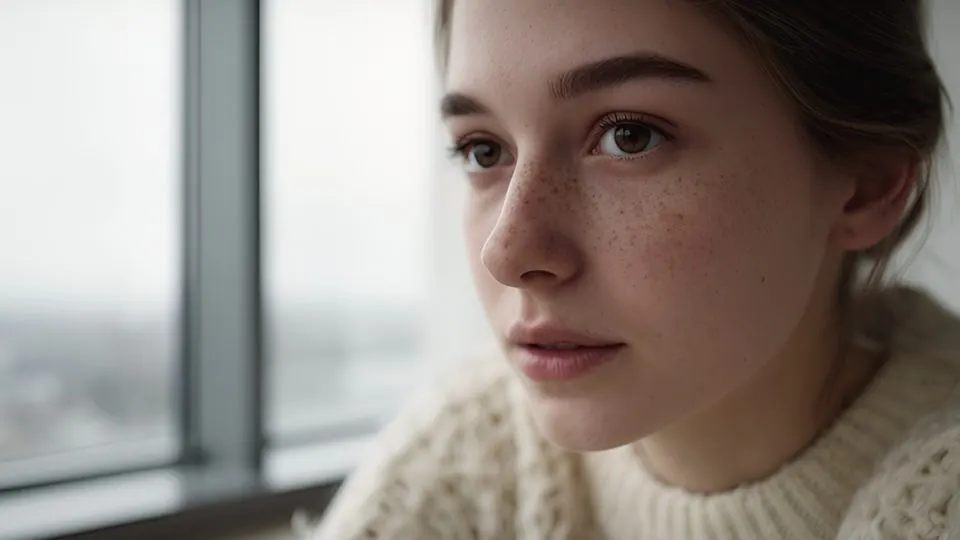 Before · AI clipAfter · Portrait 400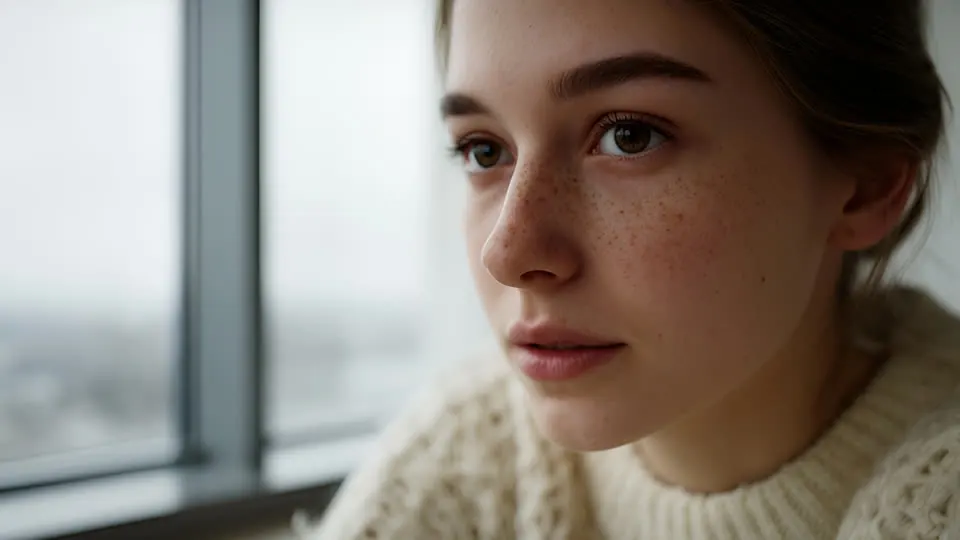
Apply a LUT
- 01Select your clip (or an adjustment layer above several clips) and open Window → Lumetri Color.
- 02Under Creative → Look, choose Browse… and pick a file from “01 Rec709 - AI footage”.
- 03Lower Creative → Intensity to 50–70 if the look is too strong for your clip. The “Soft 60” folder is the same look pre-mixed at 60%.
- 04Shot in log on a real camera? Put the matching file from “03 Log” in Basic Correction → Input LUT instead, and leave Creative empty.
To make every look appear in the Look dropdown, copy the .cube files to /Library/Application Support/Adobe/Common/LUTs/Creative (macOS) or C:\Program Files\Adobe\Common\LUTs\Creative (Windows) and restart Premiere.
Add grain & light leaks
- 01Put the overlay on the track above your footage and stretch or loop it to the length of the edit.
- 02In Effect Controls → Opacity → Blend Mode choose Overlay (grain, flicker, scanlines) or Screen (light leaks, halation, dust, VHS tracking).
- 03Use the ProRes 4444 .mov files for dust with real alpha — keep Blend Mode on Normal.
- 04Lower Opacity to 30–70% to taste.
The 20 overlays (20 files at 4K) are in Lutpack Pro — $29 once.